Knowledge base
Connecting to Xero
This is an in-depth look at connecting your Xero data to SyncHub.
In this article…
- Getting connected
- Data flow diagram
- FAQs
- Next steps
Getting connected
As per how guide on how to to set up a connection, here is how you can connect your Xero data to SyncHub:
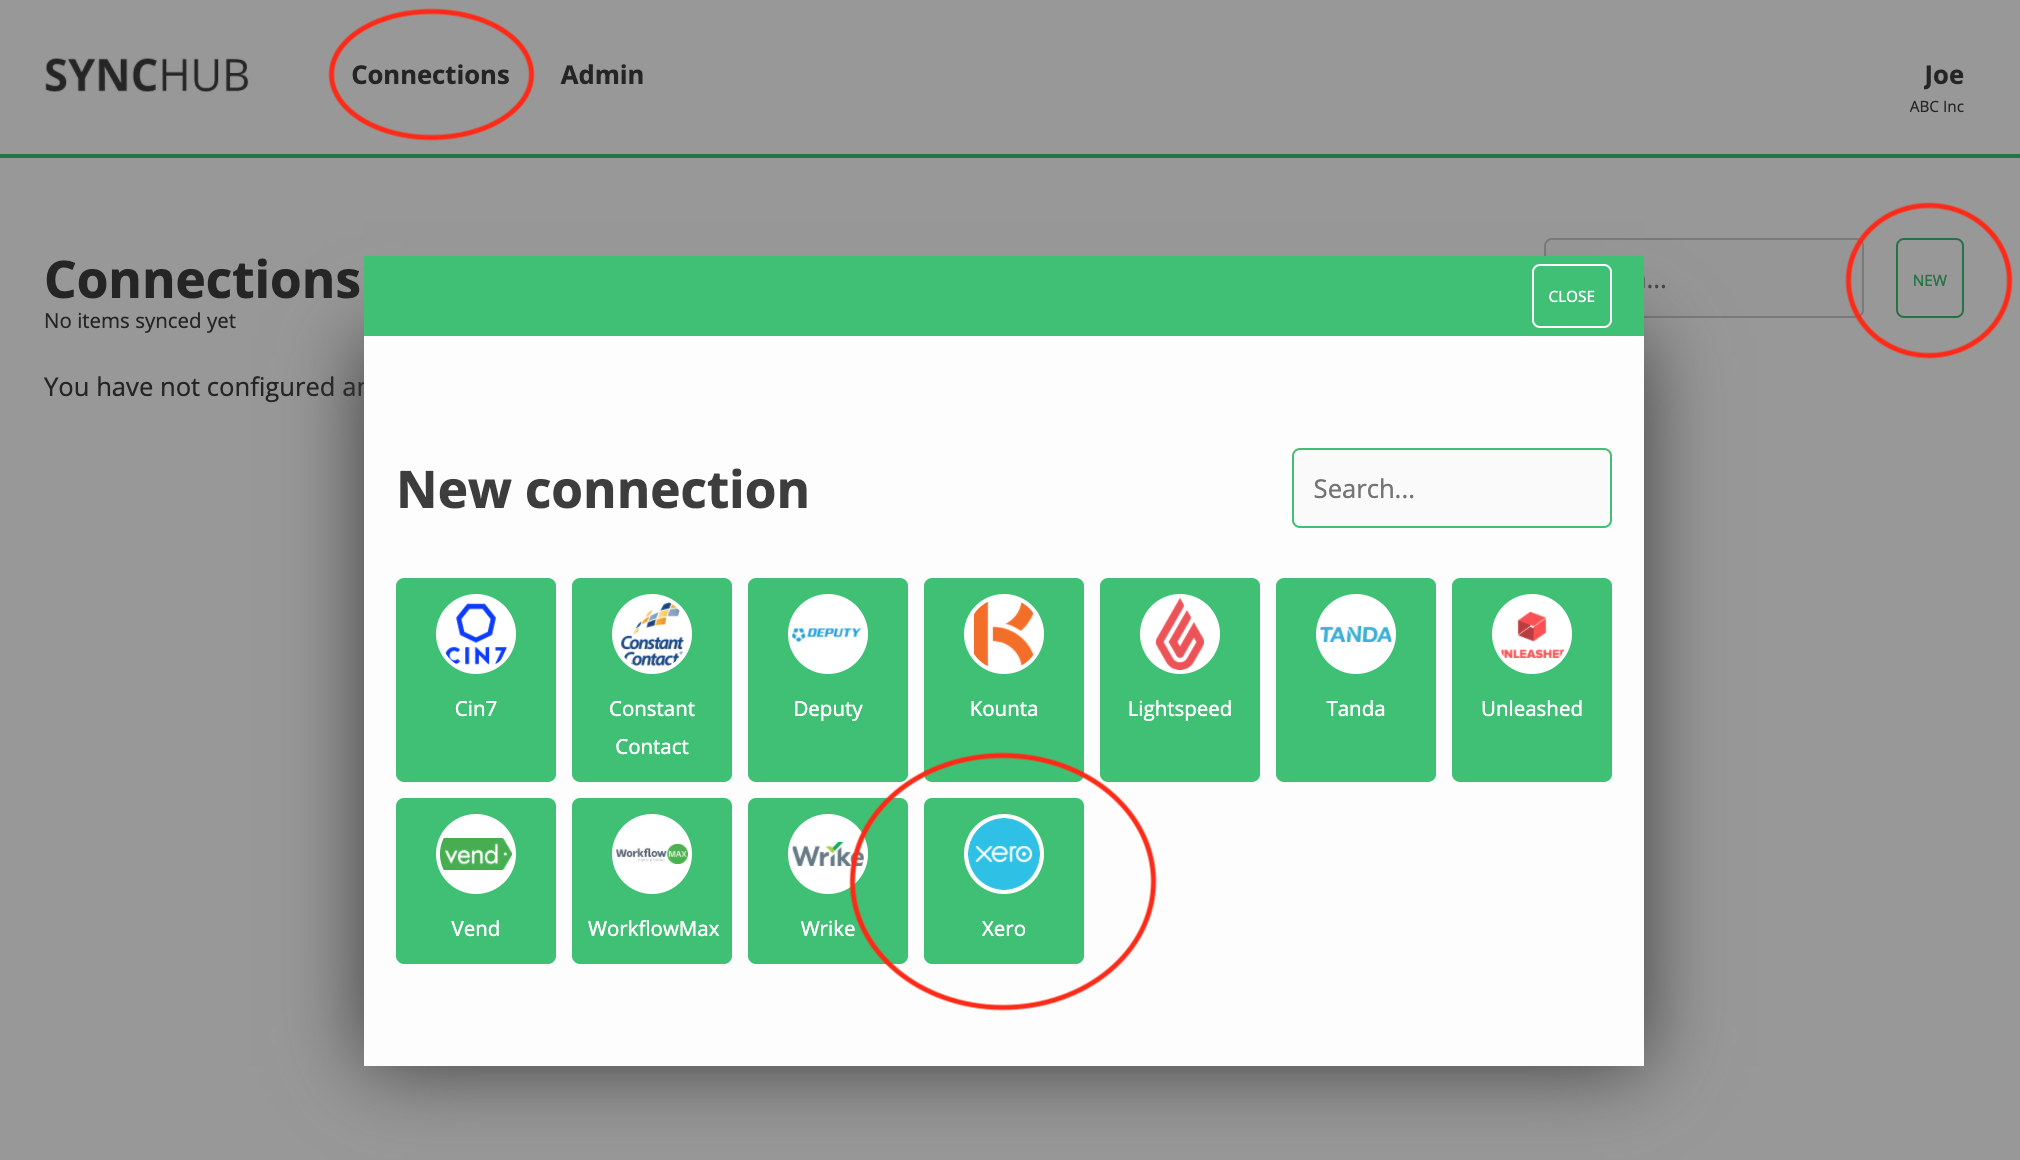
- Select Connections from the main menu.
- Click the New button.
- Select Xero.
- Give it a name (this is especially useful if you’re creating multiple Xero connections).
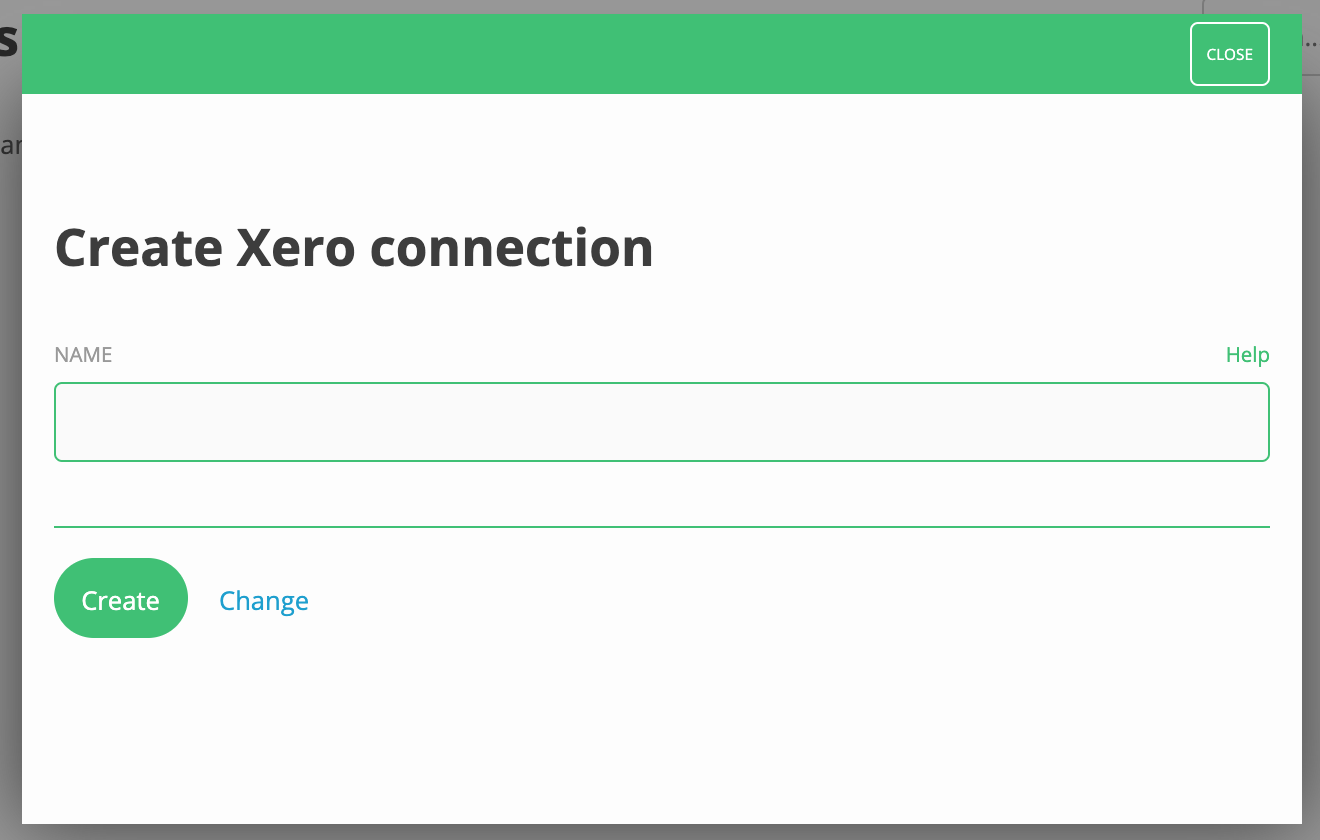
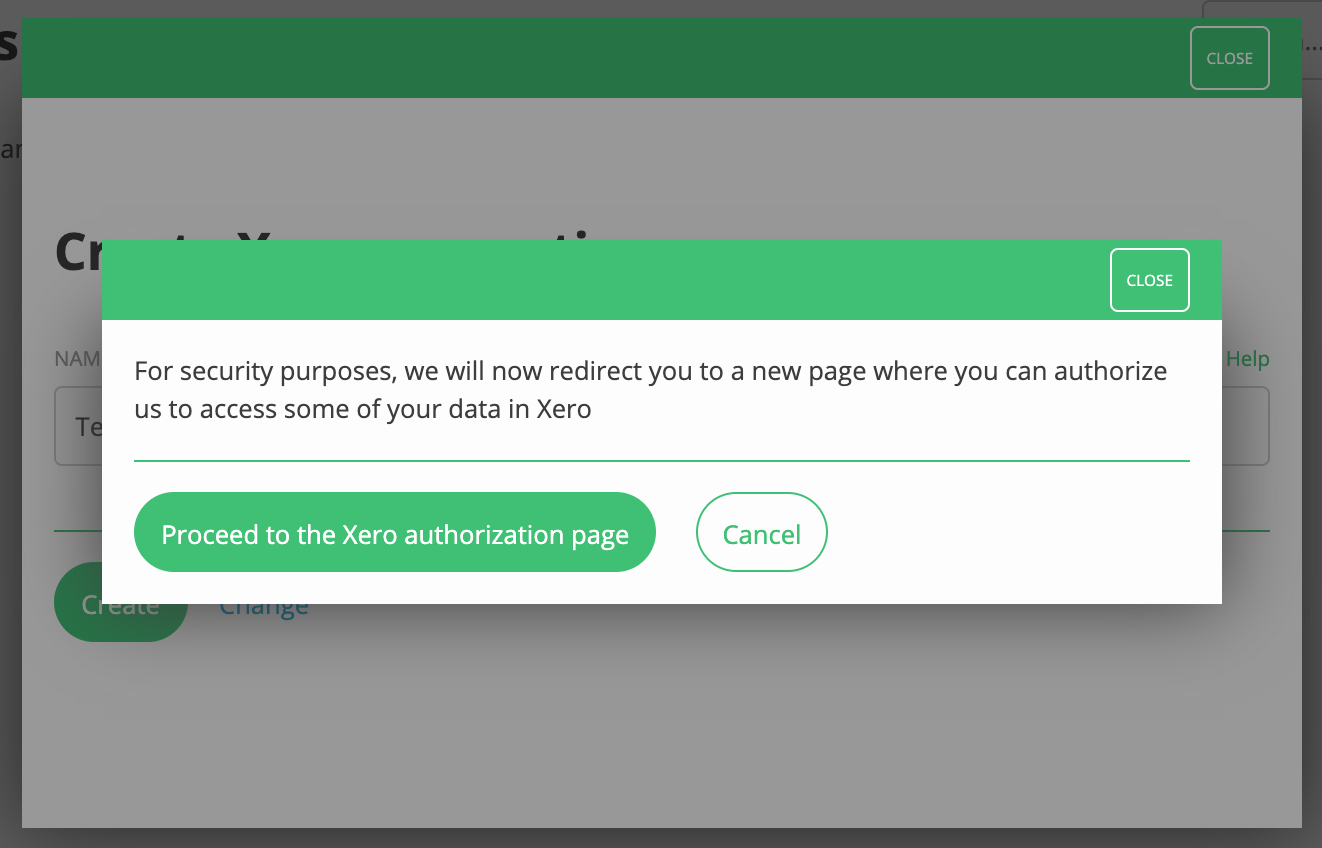
- Click Proceed to the Xero authorization page to connect.
- If you are not currently logged in to your Xero account, you will be prompted to log in.
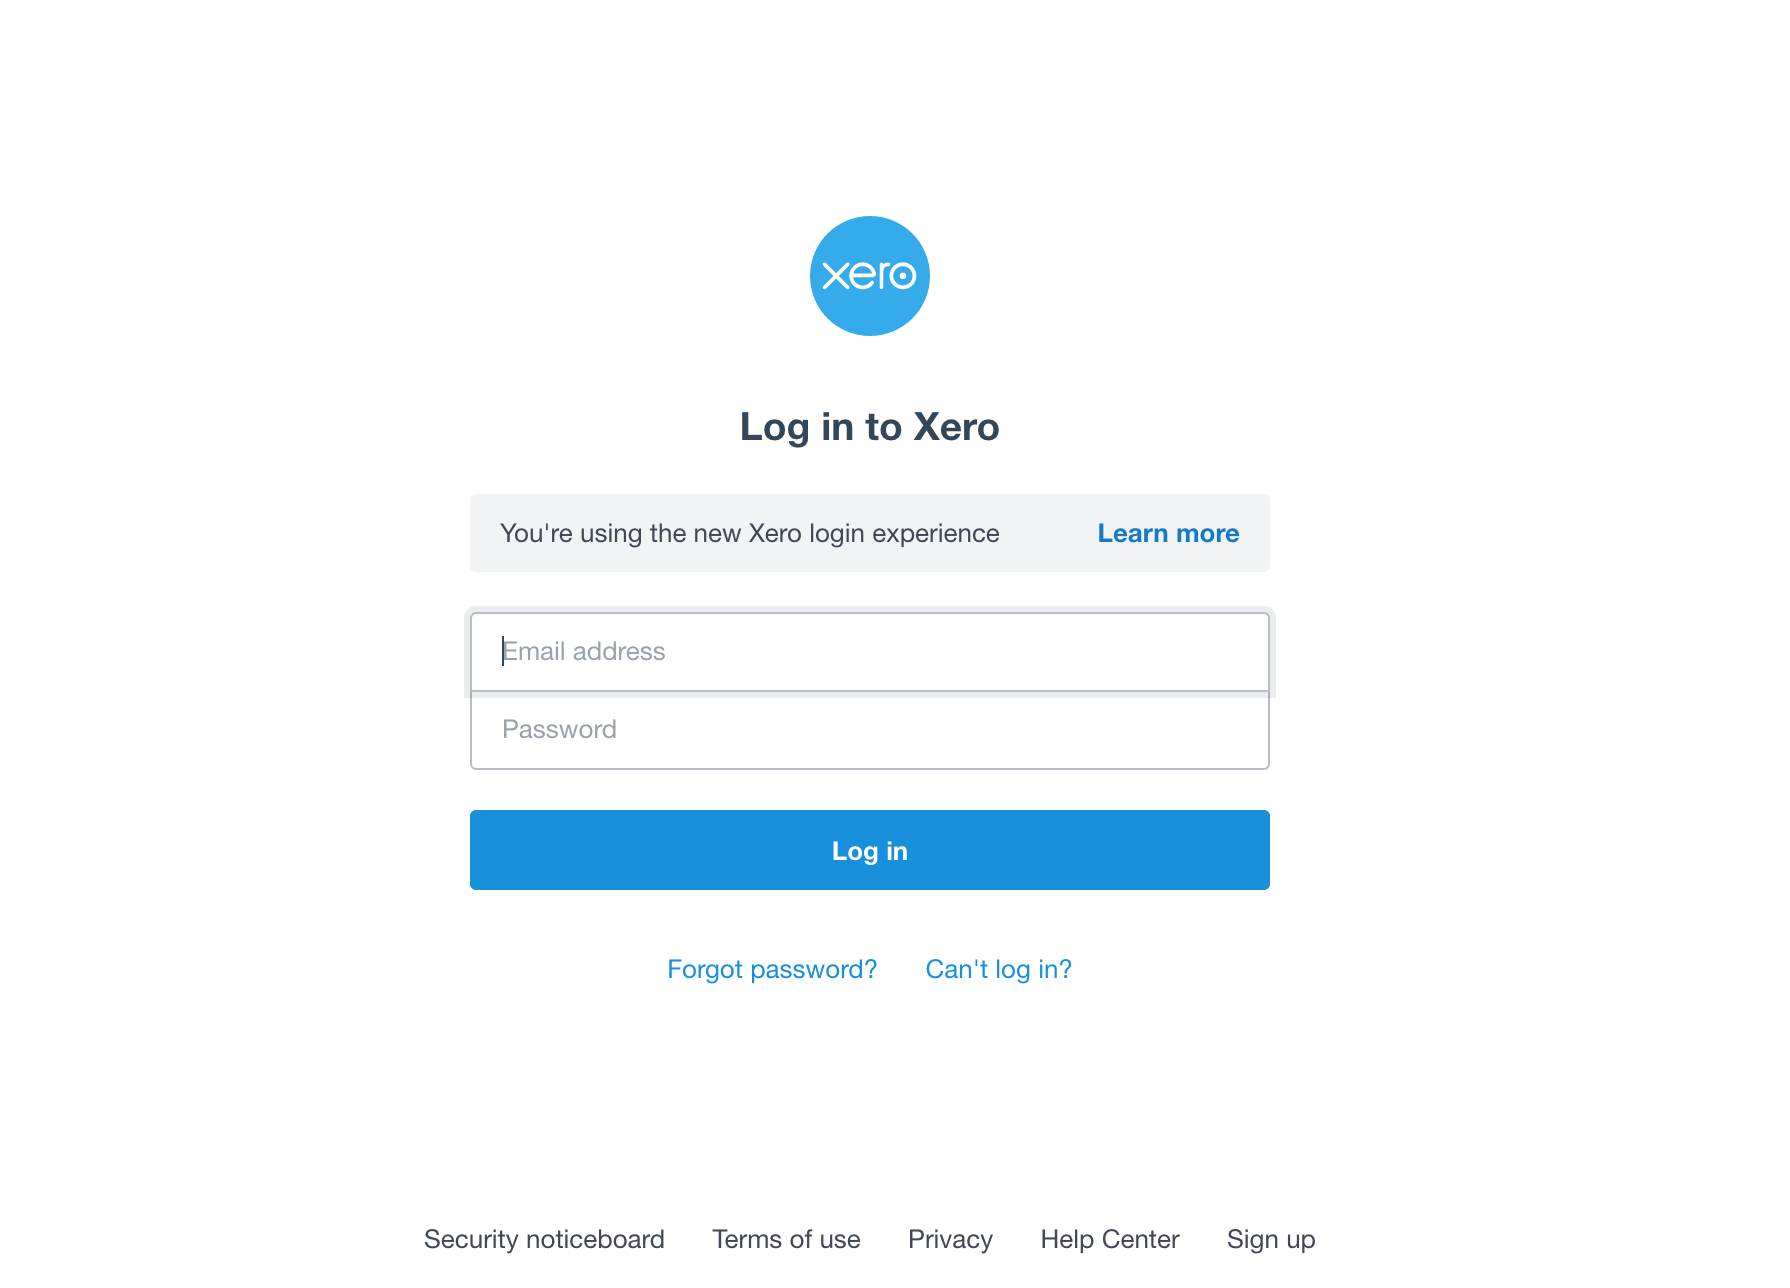
In the dropdown, select the Xero account you would like to connect to and click Allow access to authorise SyncHub to access your Xero data.
If your Xero account has multiple tenants, SyncHub will prompt you to select which one you wish to integrate with.
Done. Now watch as SyncHub begins retrieving your historical data.
Data flow diagram

Specifically, SyncHub will map the following Xero endpoints to their own tables in your data warehouse:

FAQs
How frequently is my Xero data synced?
The sync frequency (AKA run frequency) is set based on your plan. Check out our plans.
Can I connect multiple Xero accounts?
Yes, if you have a plan that allows for multiple connections then you can add additional Xero connections by completing the steps above for each connection.
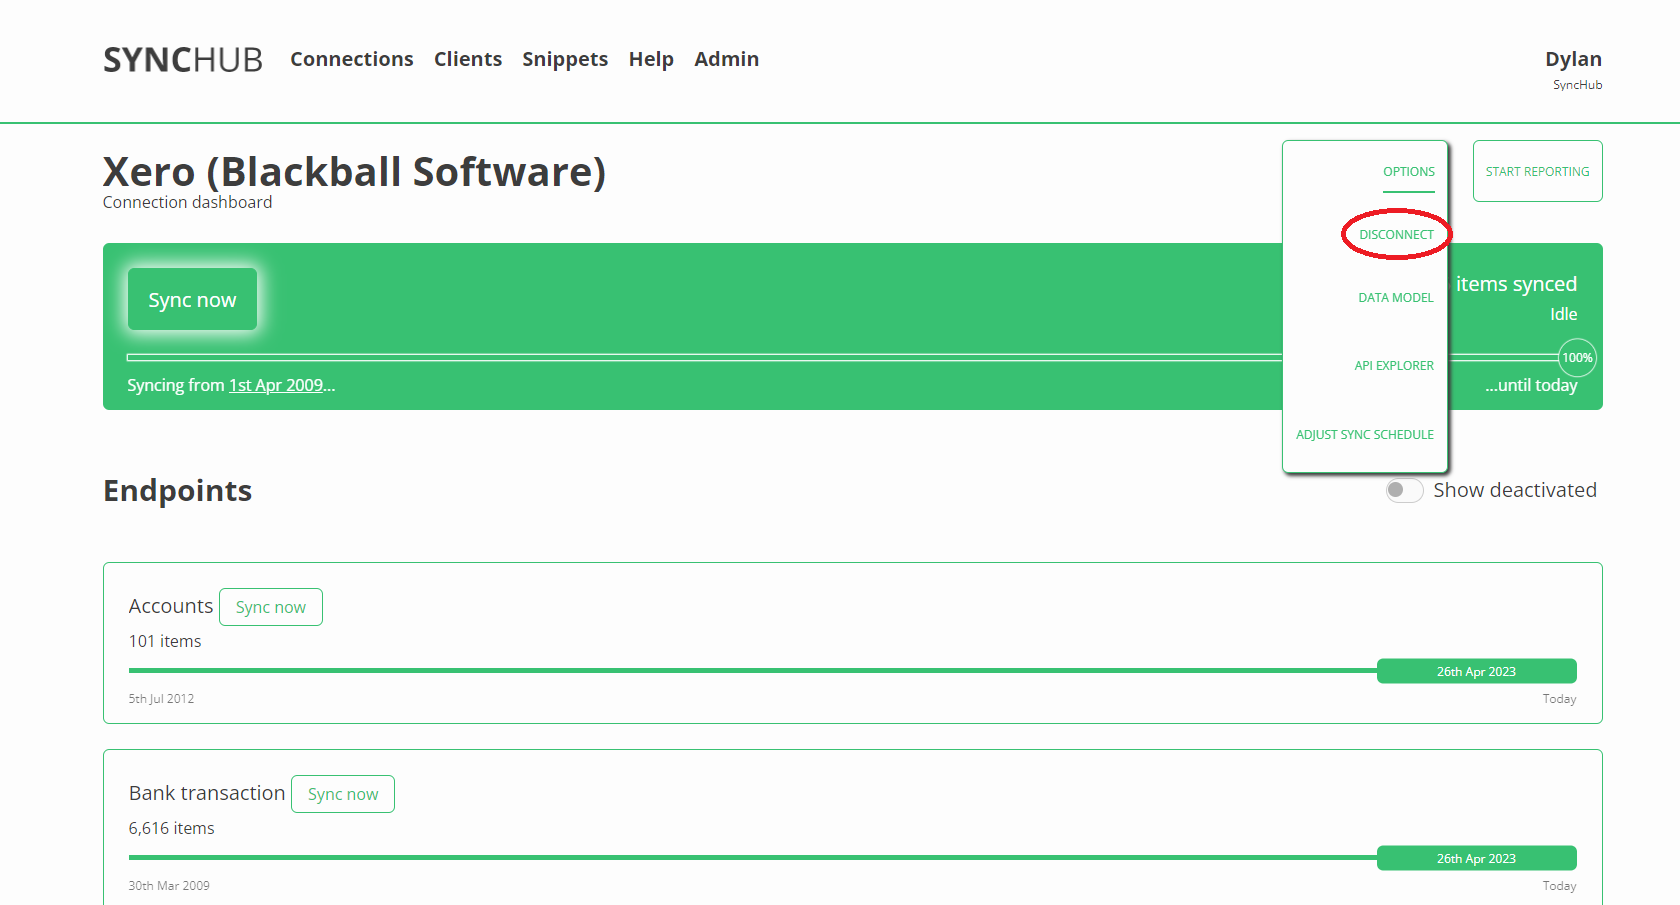
How do I disconnect from Xero?
To disconnect from within SyncHub, click the Disconnect button on the connection dashboard of the Xero connection you would like to delete.
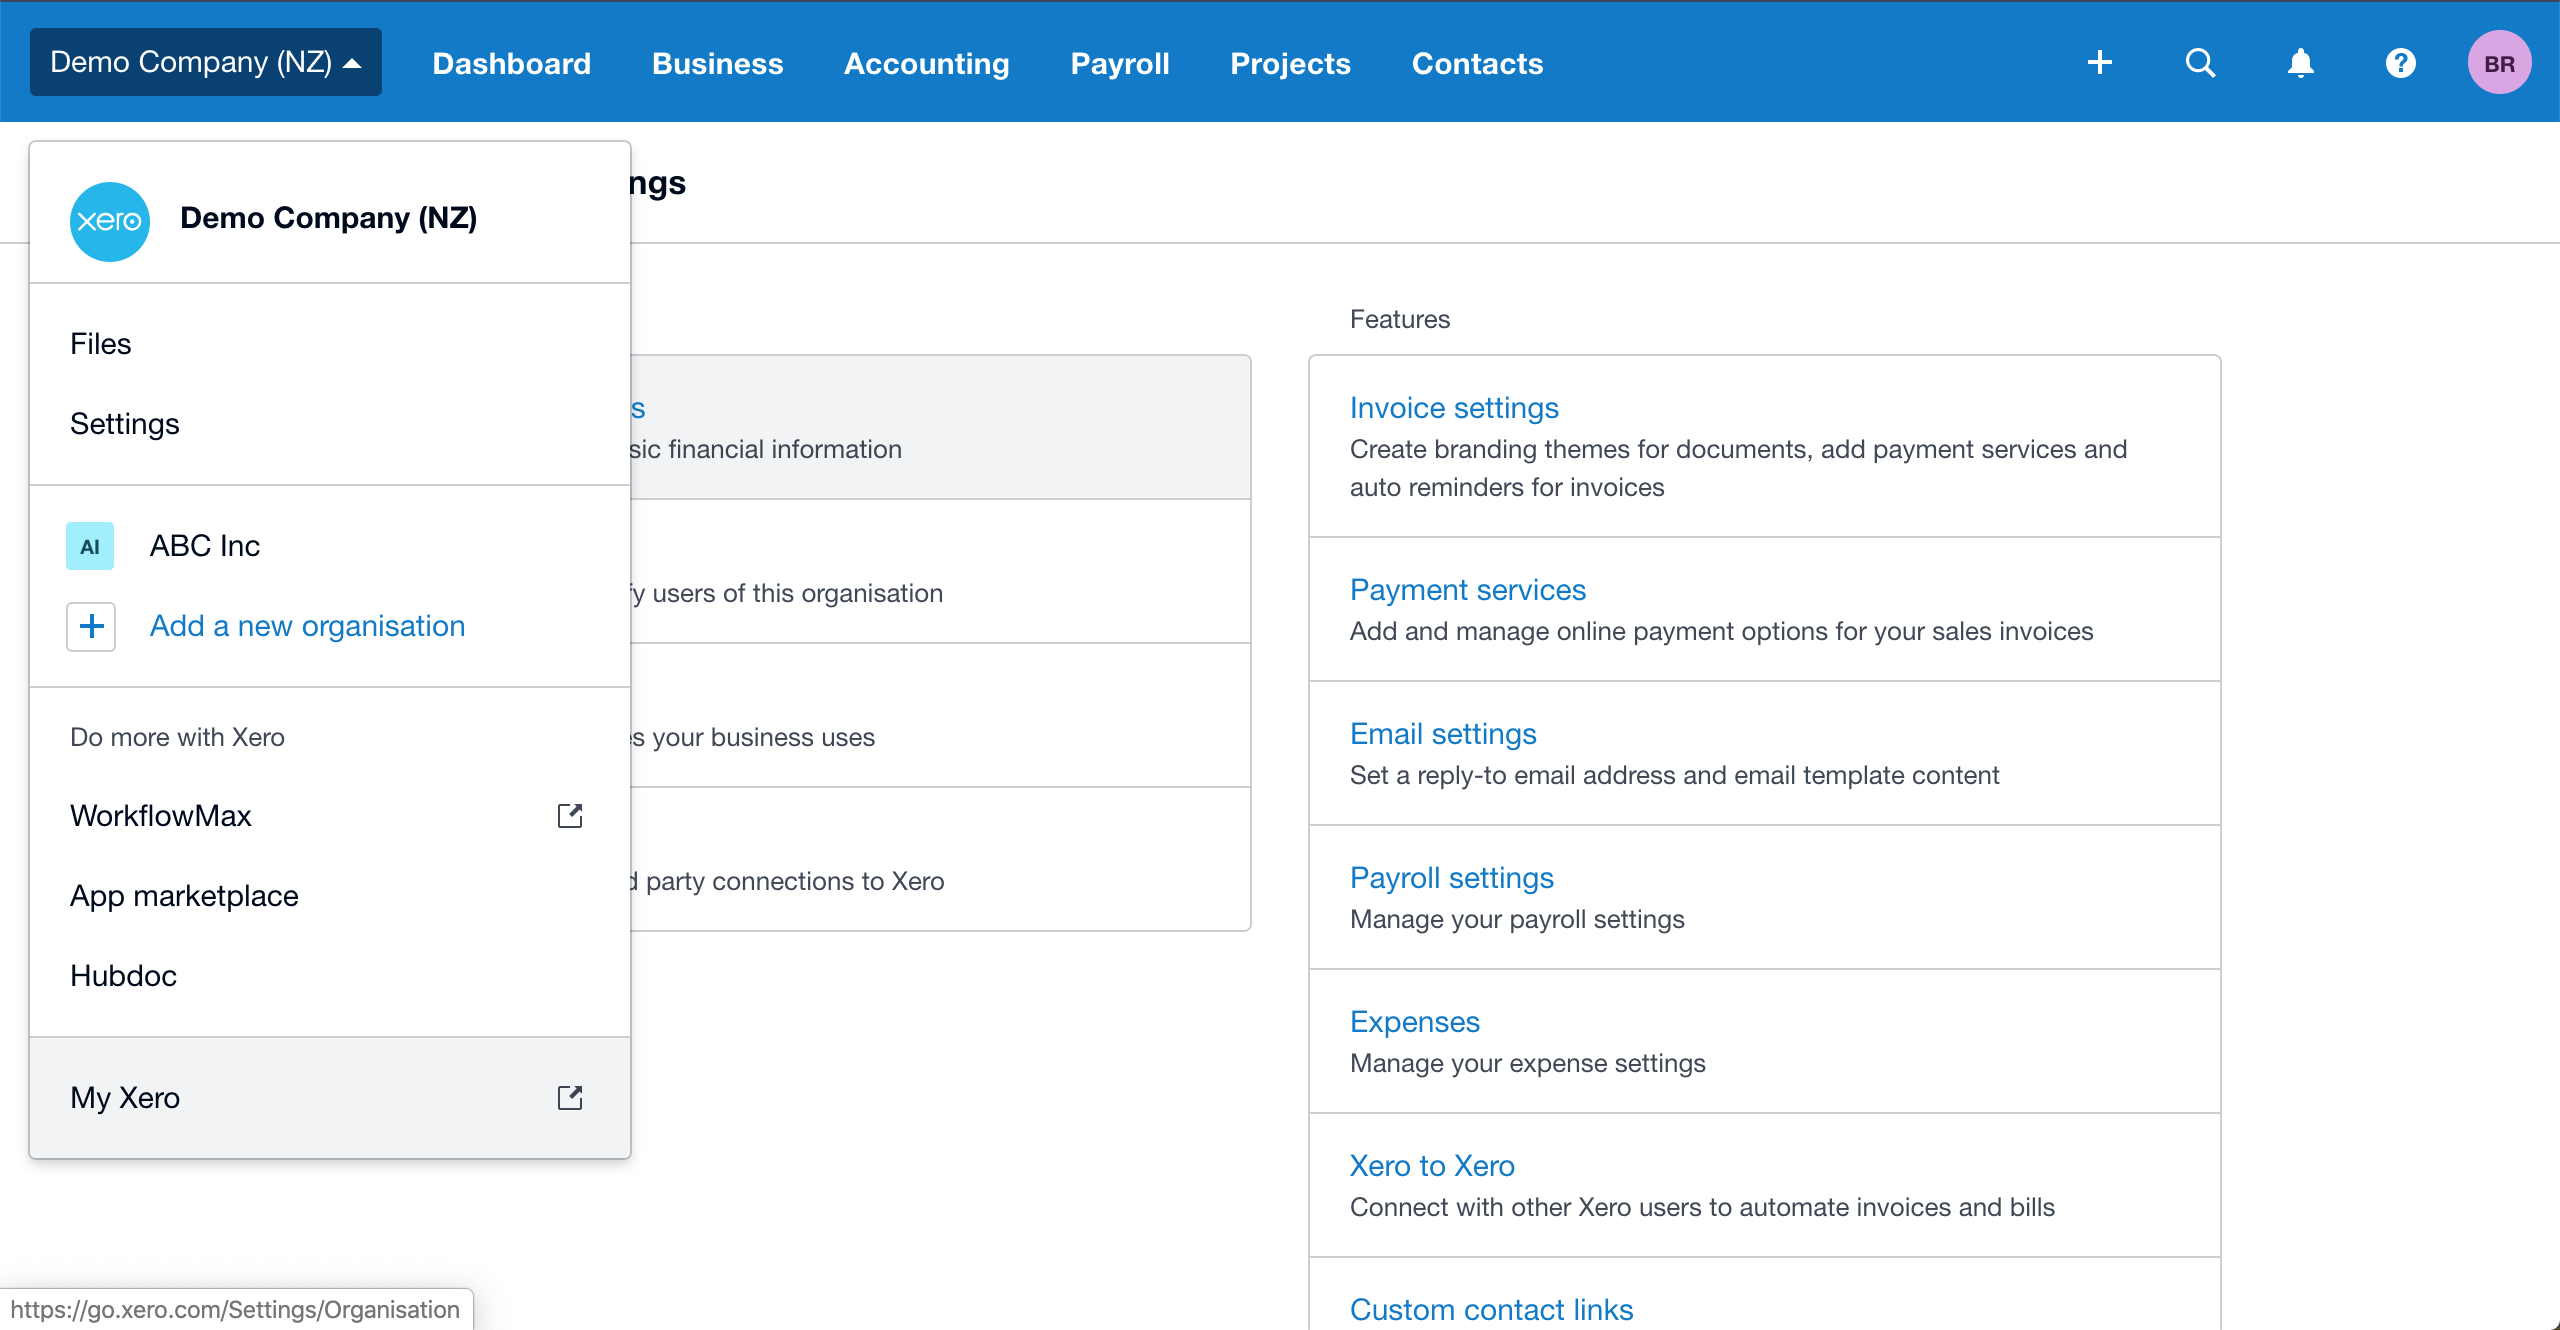
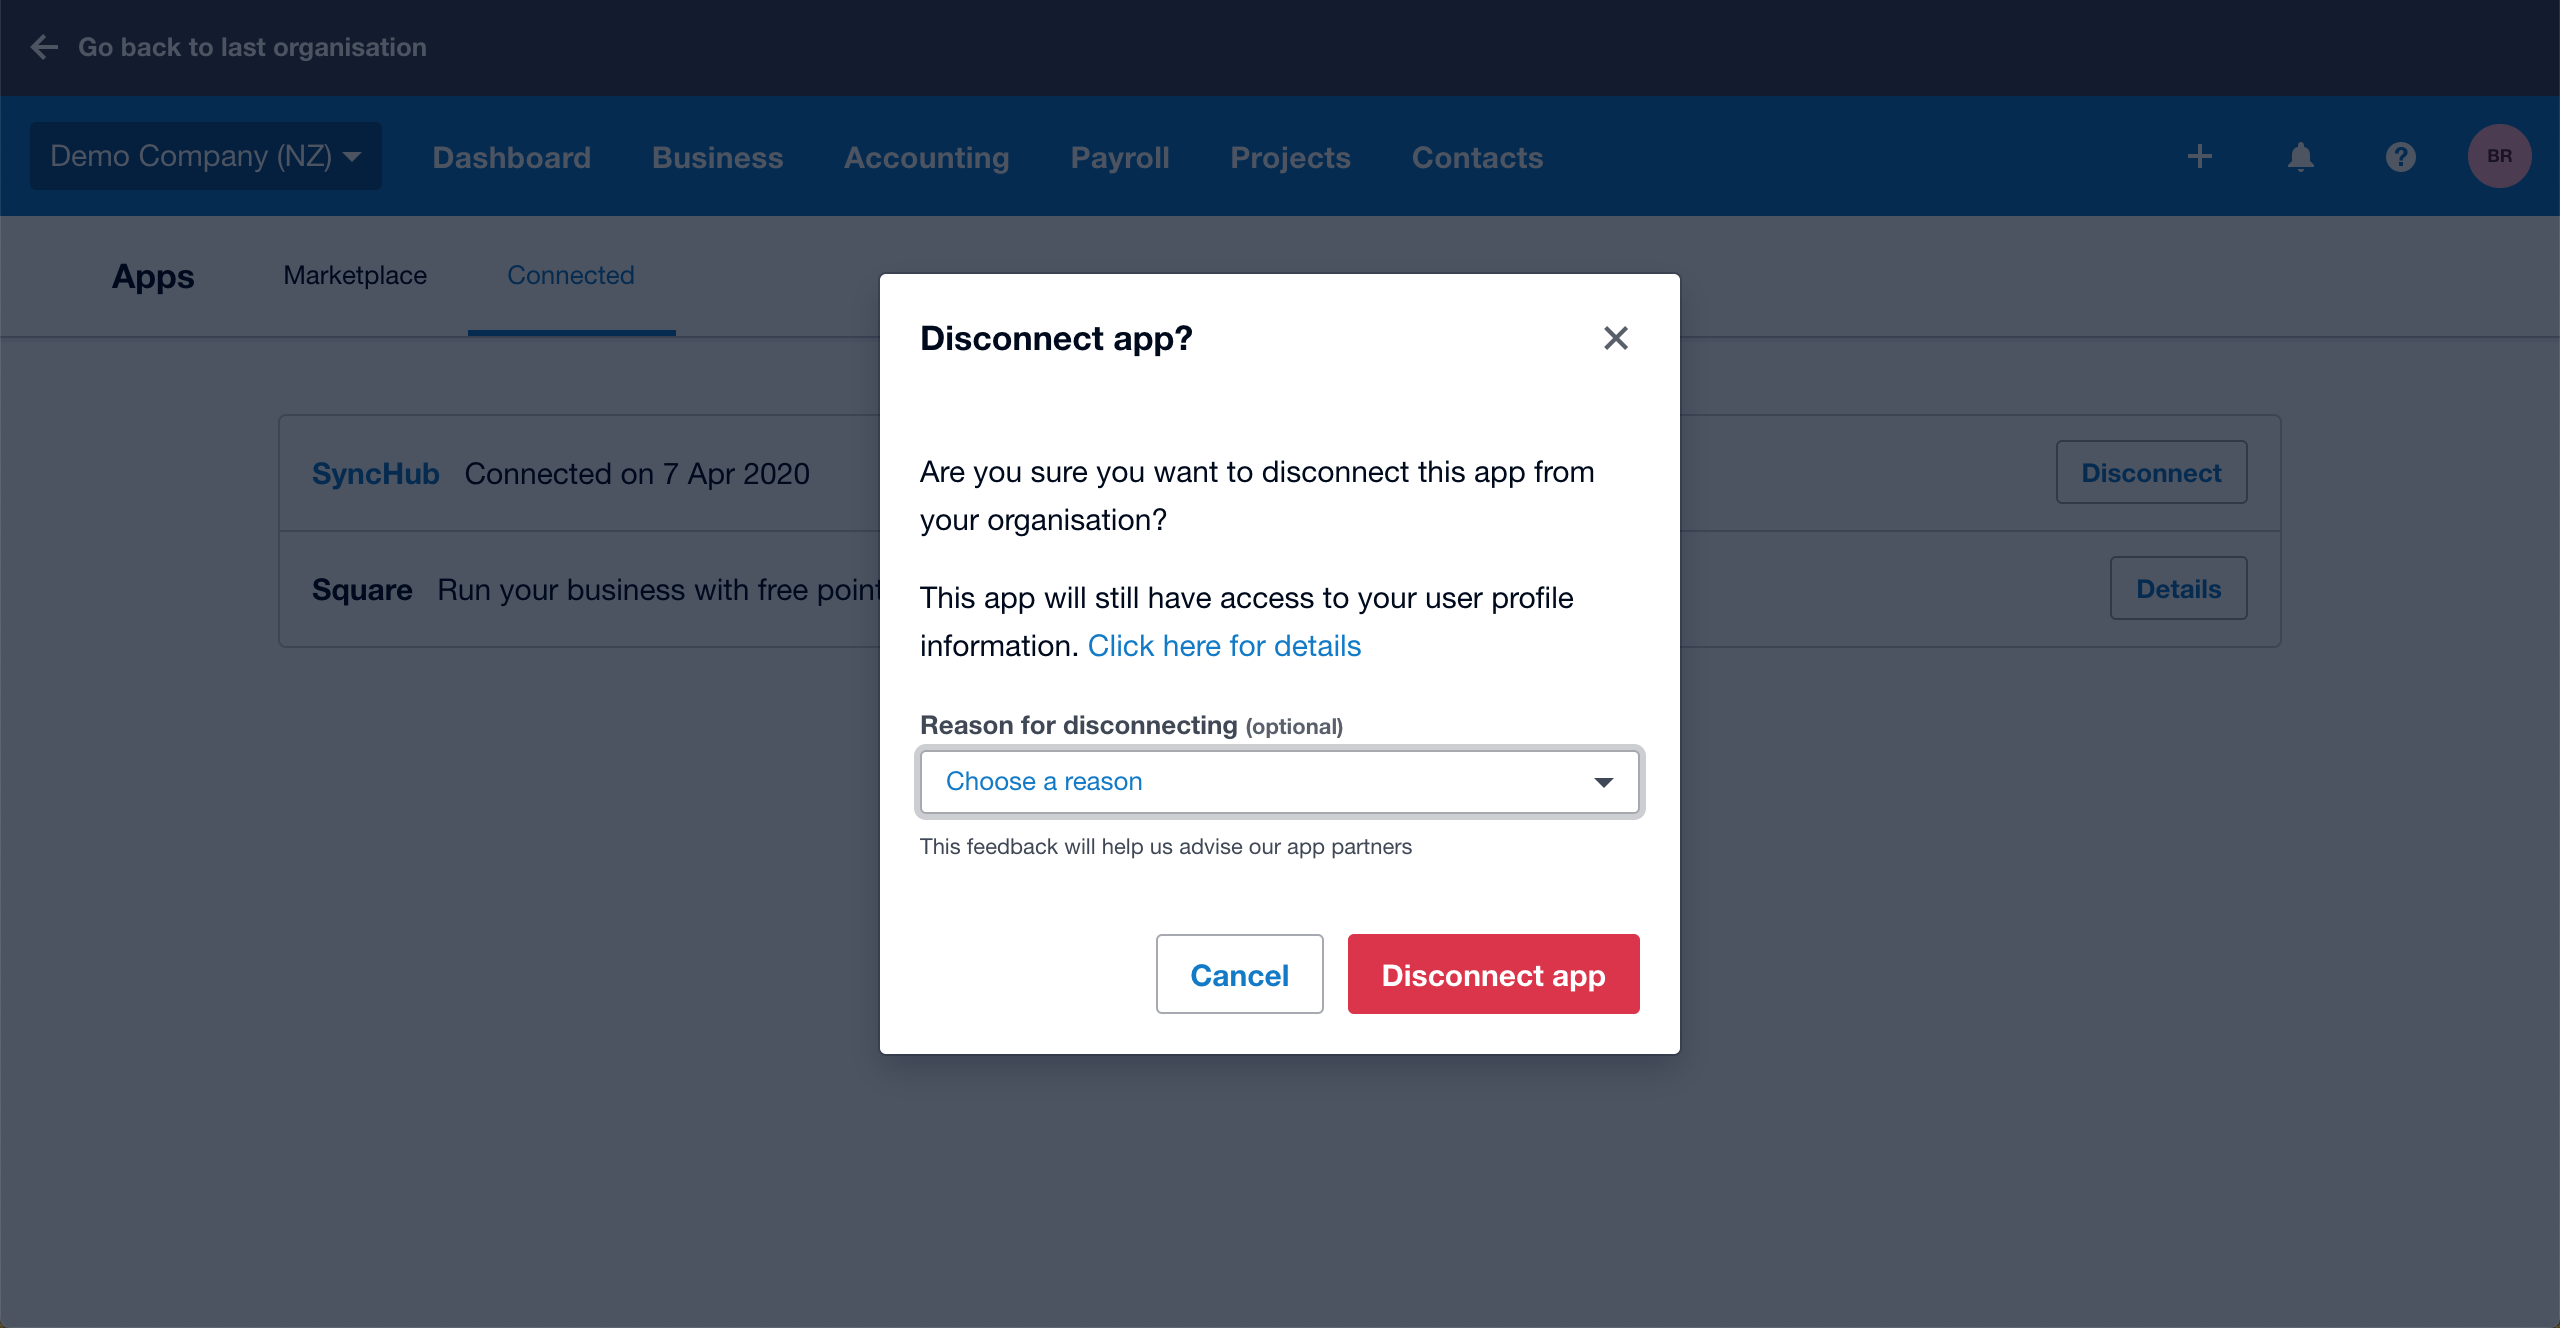
To disconnect from within Xero, follow these steps:
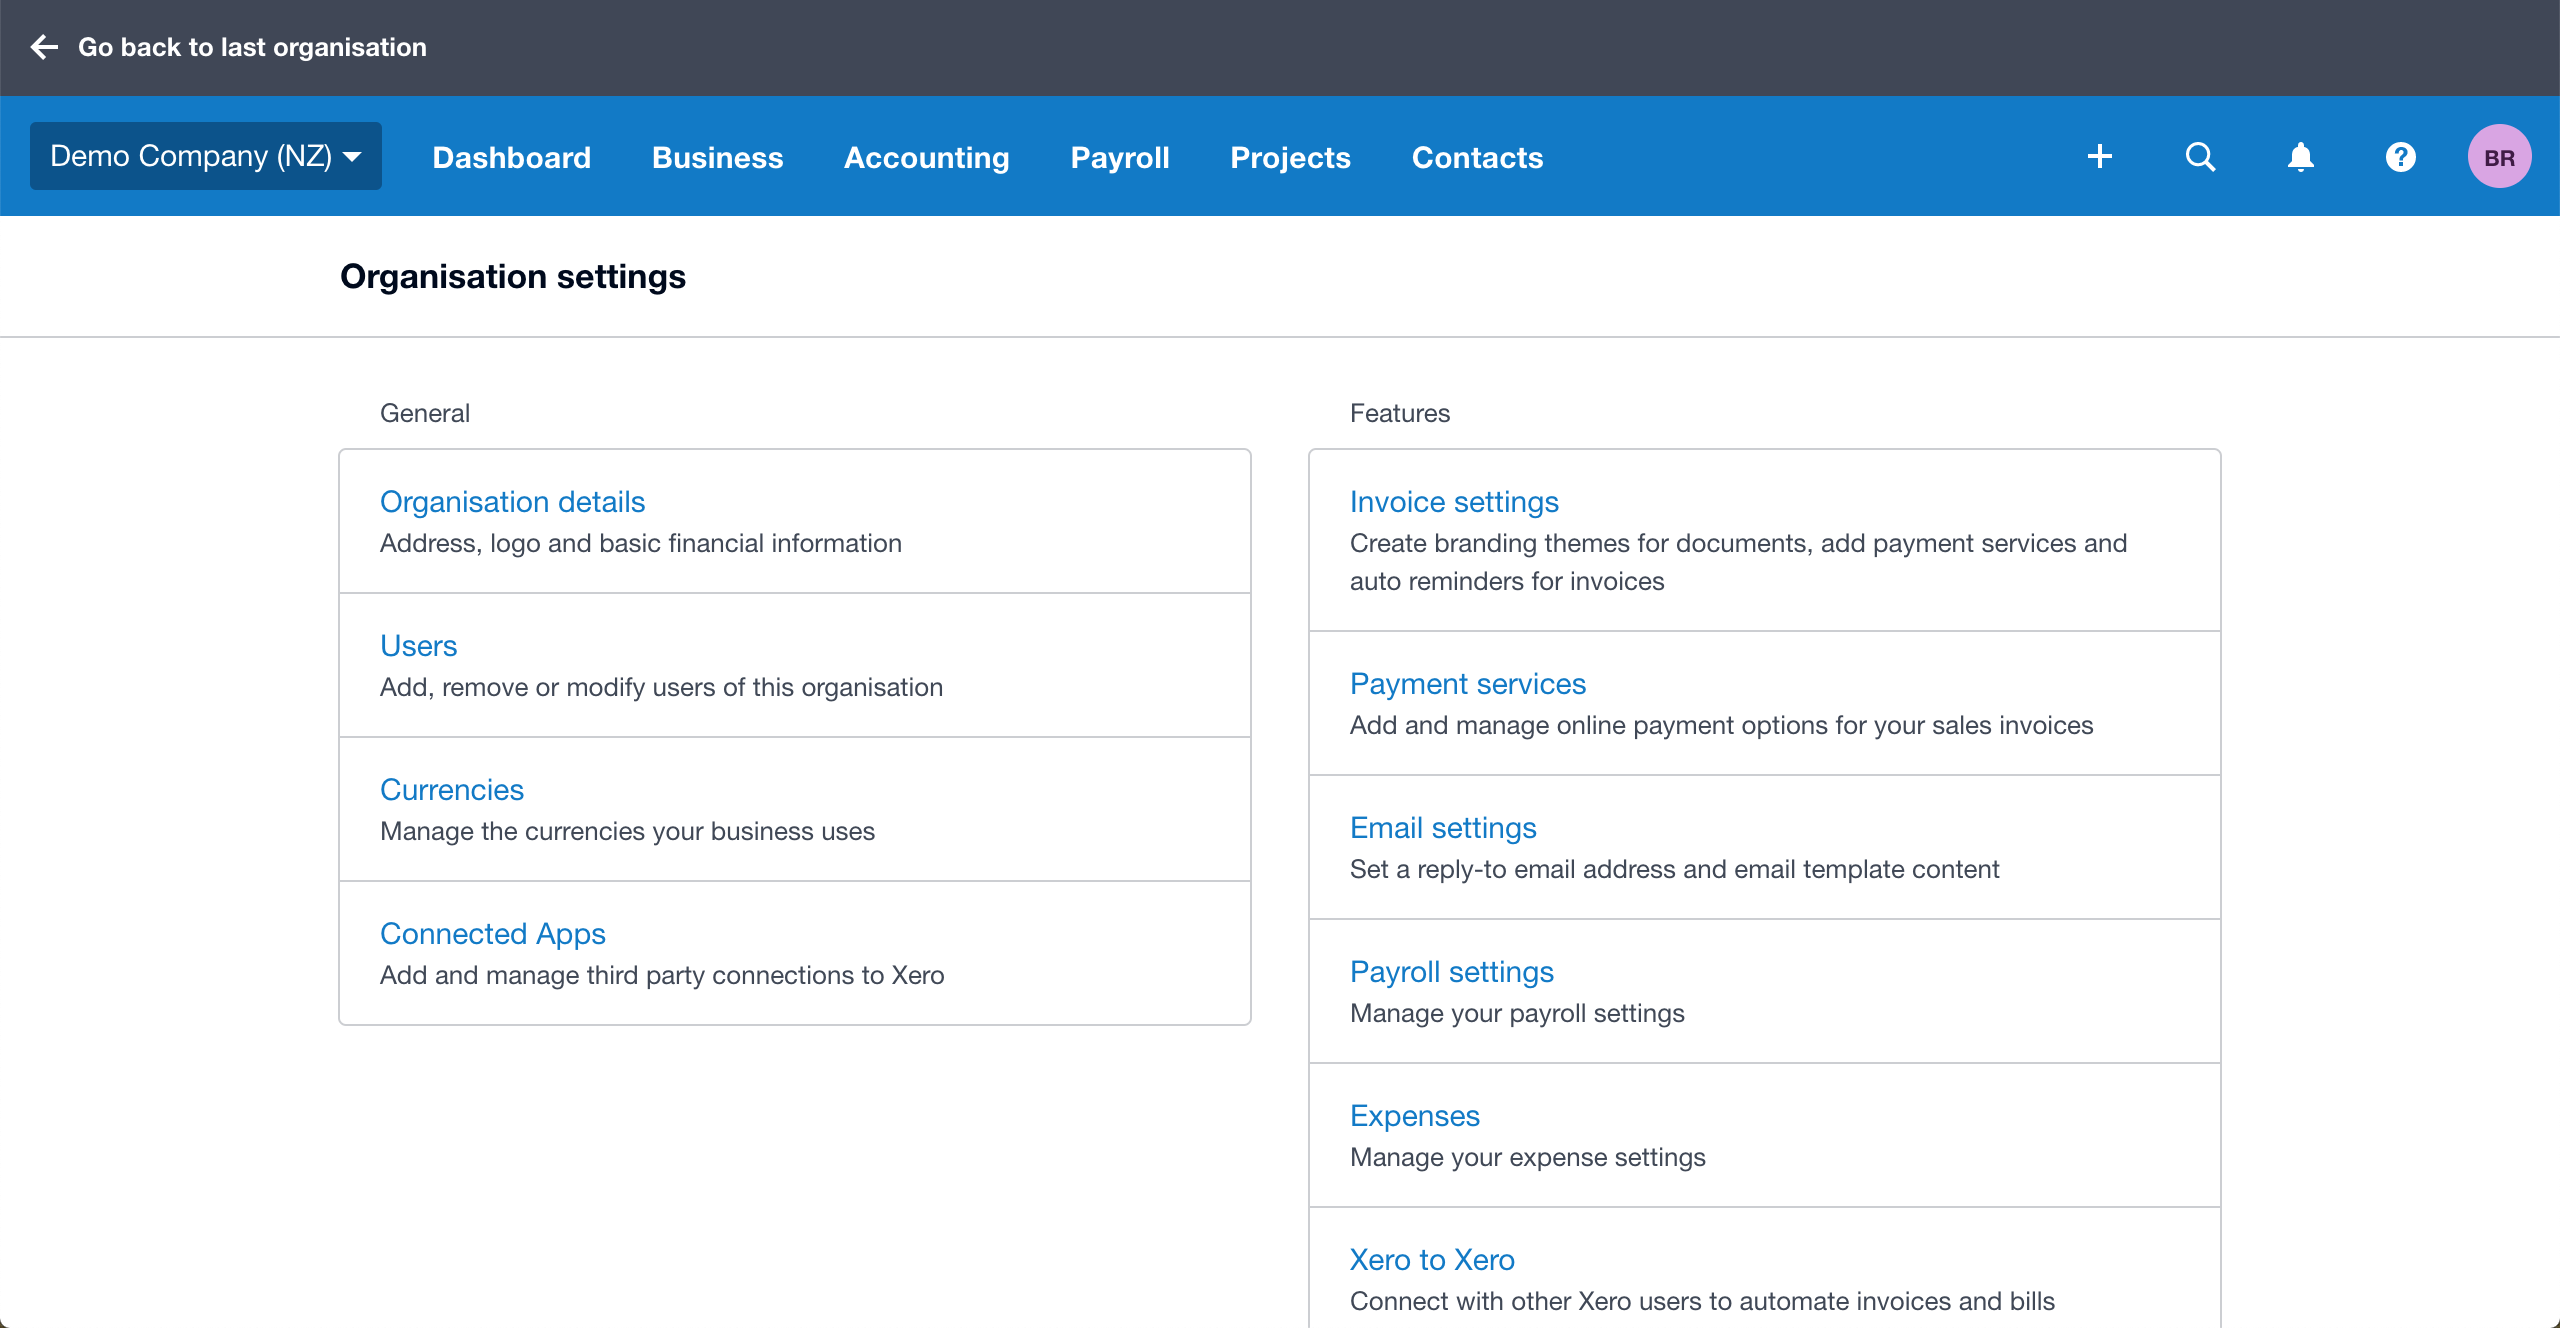
- Click on the organisation name and select Settings.
- Click Connected Apps.
- On the Connected tab, click Disconnect next to SyncHub.
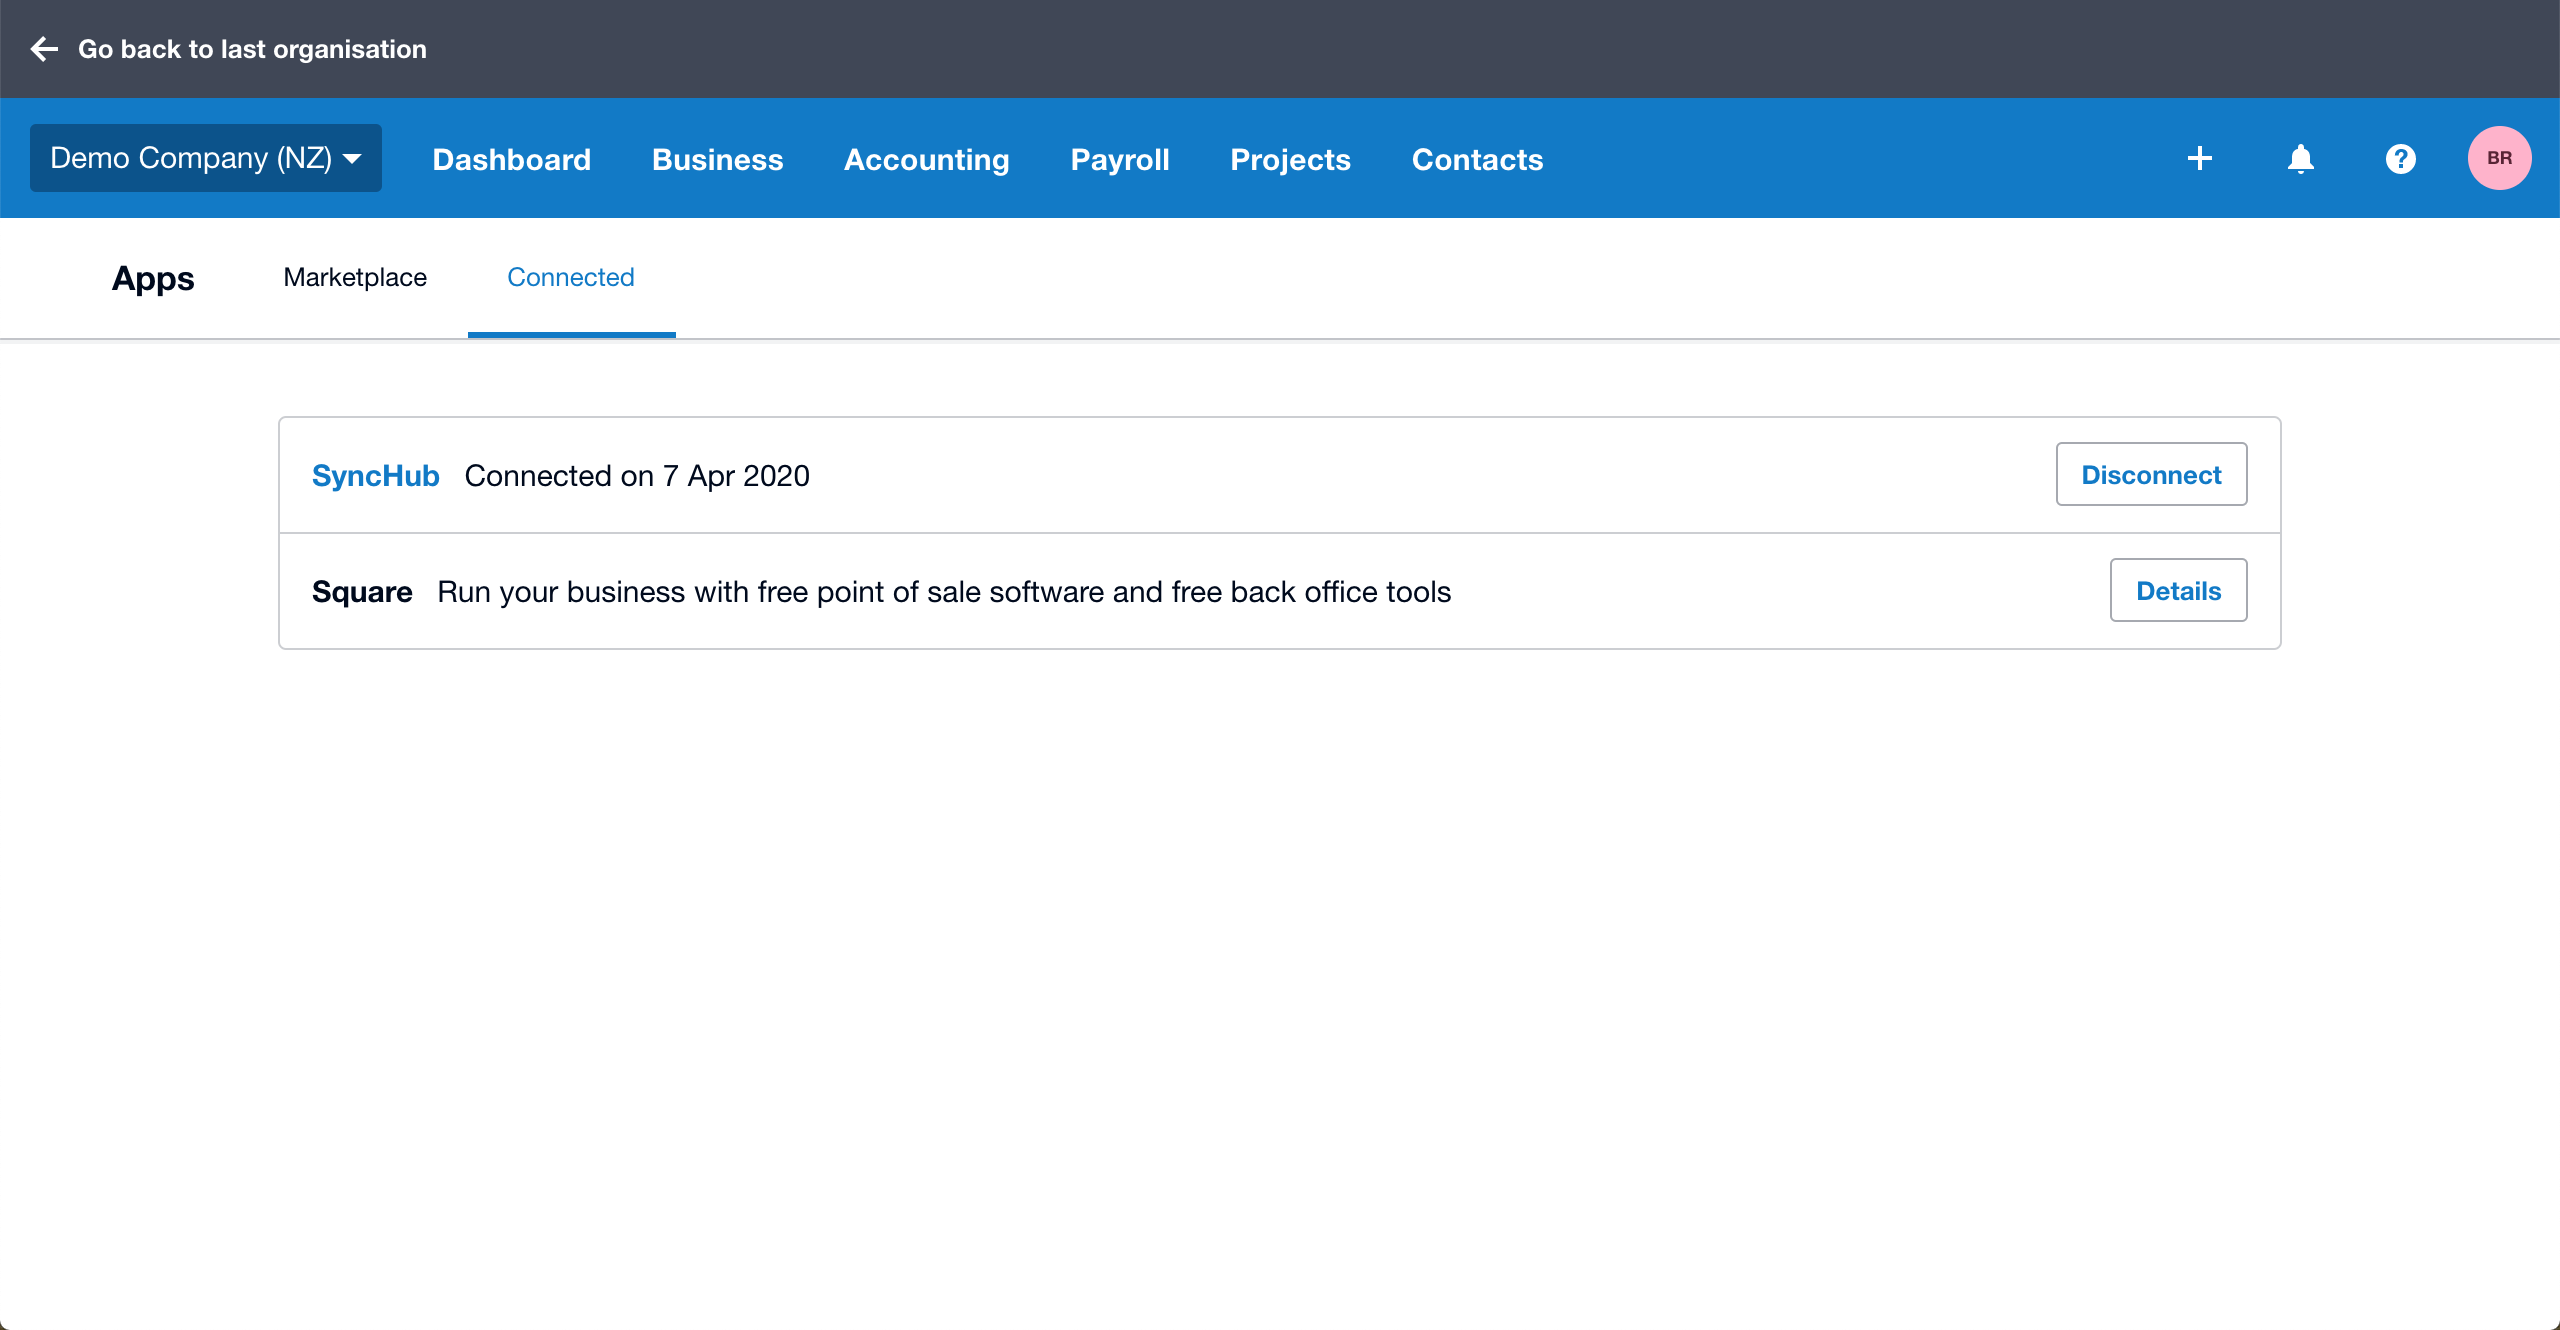
- Click Disconnect App to confirm.
How far back does my data go?
By default SyncHub will only fetch the last few months of data from Xero, but you can backdate the sync and pull in all historical data.
How do I configure what data is synced?
SyncHub will automatically sync data from all endpoints/data tables available – see the diagram above for the full list. If you would like to remove any tables, simply go to your connection dashboard, click on the table name and click Deactivate.
Next steps
You may now connect to your new data warehouse using the reporting tool of your choice. You can also learn more about how SyncHub works and how to adjust your connection settings.